How to Vlog on iPhone and Look Natural on Camera
 Maya Chen · May 30, 2026 · 7 min read
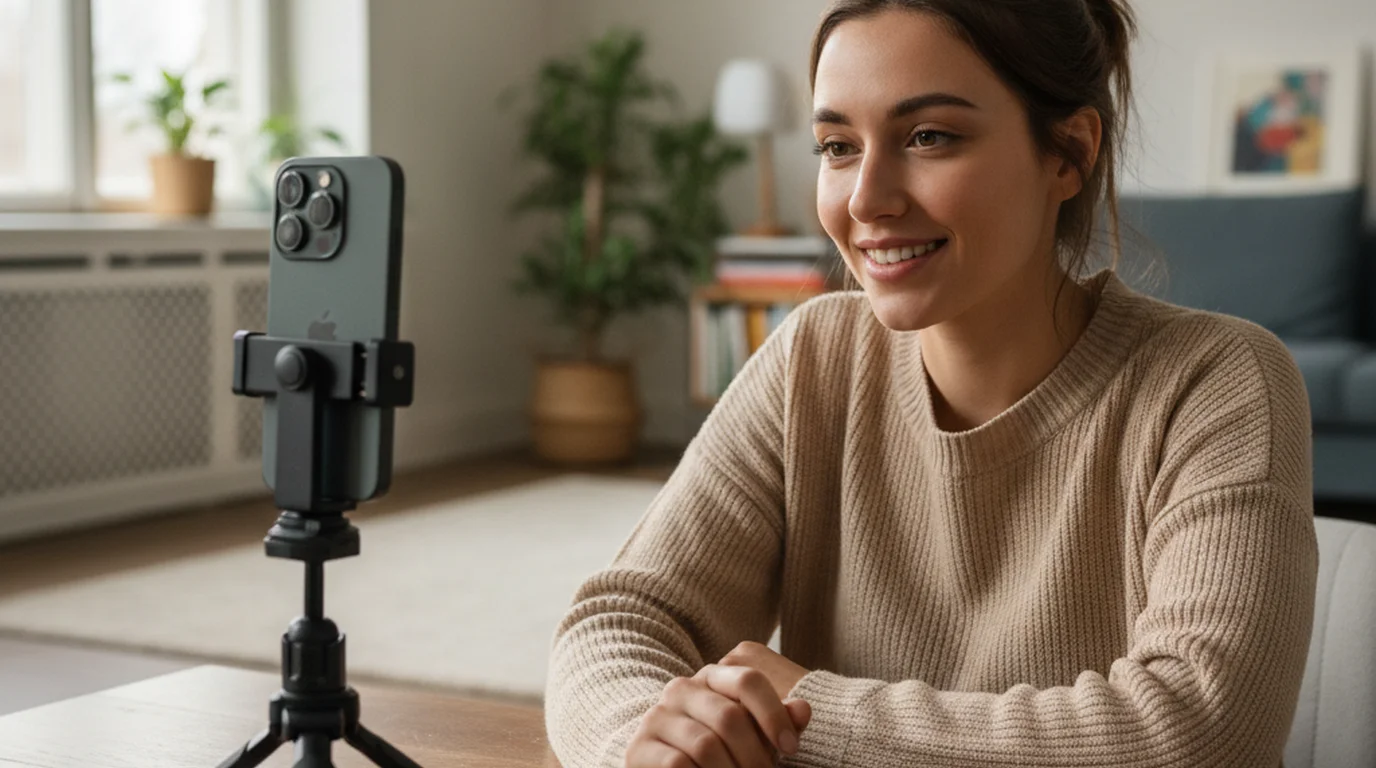
Six years ago I posted my first vlog from my apartment bedroom with nothing but an iPhone 11 and a ring light I borrowed from my roommate. I rambled for four minutes, forgot half of what I wanted to say, and published it anyway. It got eleven views — ten of which were mine. The thing that changed everything wasn't a better camera or a new microphone. It was writing a script and learning how to read it without looking like I was reading it. This guide covers exactly how I do it.
Vlog on iPhone by writing a tight script before you hit record, then using a teleprompter app in Camera mode so your words scroll directly over the live viewfinder. You read your script while recording, your eyes stay on the lens, and you sound like you're talking — not reciting. Most takes finish in one or two attempts instead of fifteen. Whether you're creating a daily video diary, a travel vlog, or a niche how-to channel, the process is the same.
Why Solo Vloggers Struggle on Camera (and What Actually Fixes It)
The most common thing I hear from creators who are just starting out is some version of: "I know what I want to say, but the moment I press record my mind goes blank." That's not a confidence problem. It's a preparation problem — and it affects every iPhone vlogger at some stage.
When you're filming alone — no director, no producer, no one telling you "great, moving on" — your brain is doing three things at once: remembering your points, monitoring your delivery, and judging yourself in real time. That's too much. Something always drops.
A script removes the memory load entirely. You're not trying to recall your five talking points anymore. You're just reading and performing. That frees up the mental space you need to smile, pause naturally, and actually sound like yourself. This is true whether you vlog every day or once a month.
But here's where most vloggers get it wrong: they write the script and then put it on a second device, or tape paper to a wall, or glance down at their phone every few sentences. Every one of those solutions pulls your eyes away from the lens — and the moment your gaze drifts, the viewer can feel it. The fix is a teleprompter app that puts your script on the same screen you're recording with. If you also shoot talking-head video on iPhone, the same setup works perfectly for those formats too.
Step 1: Write a Script That Sounds Like You Talking
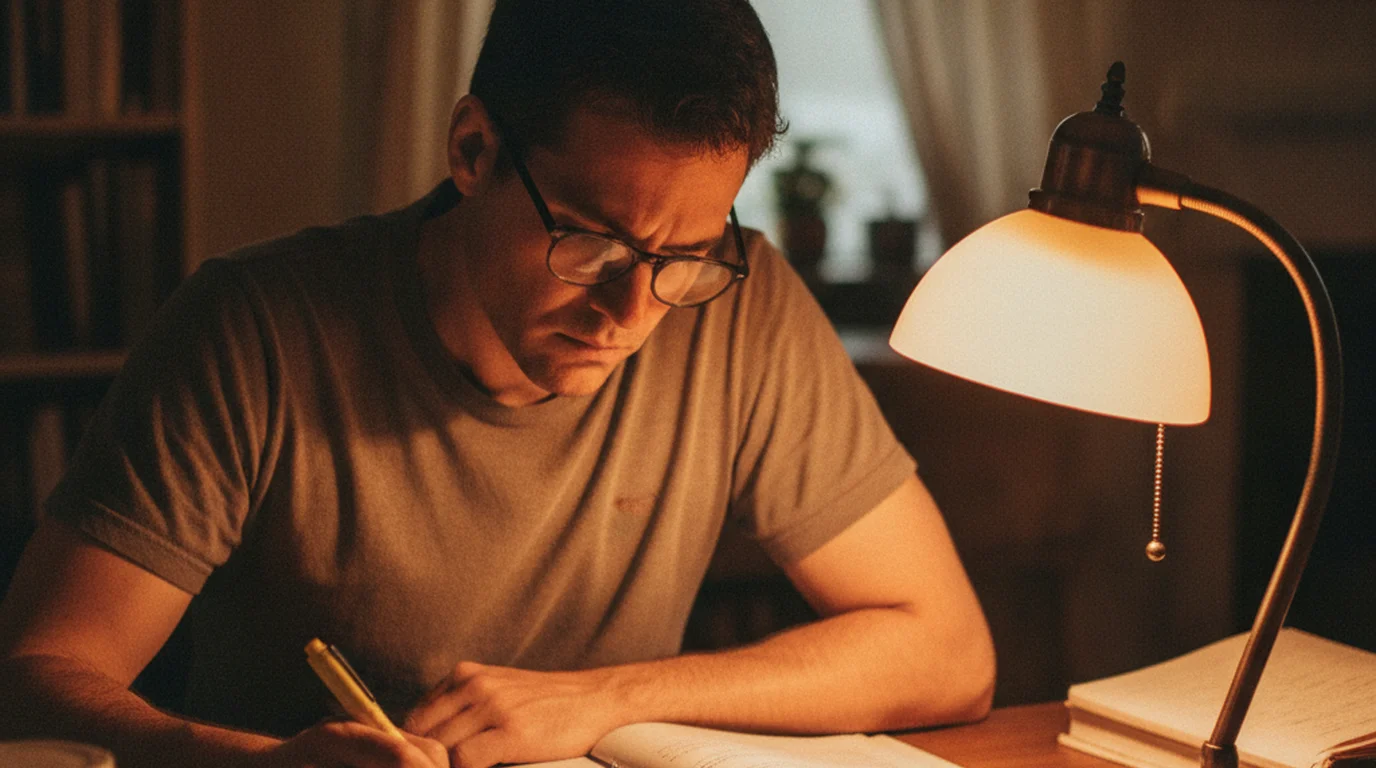
I write every vlog script in one sitting, aiming for 200–400 words depending on the target length. Scripting is the single biggest habit separating a hobbyist from a consistent content creator. Here's what actually works:
Open with your point, not your intro. Skip "hey guys, welcome back." Start with the thing you're there to say. "Last week I filmed an entire day with nothing but my iPhone 12 and here's what I learned" is a real hook. "Hey guys so today I thought it might be fun to talk about..." is not.
Write the way you talk. Read every sentence aloud as you write it. If you can't say it comfortably in one breath, shorten it. Contractions help — "you're" reads faster and warmer than "you are." Sentence fragments are fine. They're how people actually speak.
Build in pauses. I use two dashes — like this — wherever I want a natural beat. When I see them on the teleprompter, I know to slow down and let the point land.
Target word count by duration. A relaxed, conversational speaking pace is around 130–150 words per minute. A 3-minute vlog needs roughly 400–450 words. A 5-minute piece needs 650–750. Write to that number and you'll almost never need to cut for time in post. If you also create short-form content, a script-reading app makes it easy to repurpose the same vlog script across both formats.
Step 2: Set Up Teleprompter-Scrolling Scripts in Camera Mode
Once your script is written, open Teleprompter-Scrolling Scripts on your iPhone and paste or type it in. The key setting here is Camera mode. This overlays your scrolling text directly on top of the live camera viewfinder — so your script and the recording happen on the same screen, on the same device. No second phone. No paper. No glancing away.
Text positioning is where most setups fall apart. By default, a lot of teleprompter apps stack the script at the bottom of the screen — which means you're looking down when you read, not forward. Teleprompter-Scrolling Scripts lets you drag the text block anywhere on the frame. Put it near the top, as close to the front-facing lens as it can get. When you read, your eyes point almost straight at the camera.
Font size and contrast matter more than you think. Run 40pt text on a dark semi-transparent background. Readable from arm's length, but not so large that the overlay distracts you.
Set your auto-scroll speed last. Read one paragraph of your script aloud while watching the scroll. Adjust until it matches your natural pace. For most creators that's around 130–160 words per minute. Once it's set, start a fresh take from the top.
Step 3: Frame the Shot Correctly for iPhone Vlogging
Eye level is everything. Your iPhone should be at eye level or one or two inches above — never below. Below-eye shots are unflattering and create a weird power dynamic. A cheap flexible tripod on your desk works perfectly for vlogging indoors.
Leave headroom, not too much. Your eyes should sit roughly in the top third of the frame. A common beginner mistake is centering the face in the middle of the shot, which leaves too much dead space above the head.
Light from the front. If you're near a window, face it — don't sit with it behind you. Natural light from the front is the simplest, most flattering setup for iPhone vlogging and it costs nothing. Shaky handheld vlog footage is a separate issue — if you vlog on the move, a gimbal stabilizer for iPhone keeps your shots smooth.
Keep your background intentional. You don't need a studio. A bookshelf, a plant, a clean wall — any of these work as long as they're tidy and add a bit of depth.
Step 4: Record, Review One Take, and Stop Adjusting
Here's the honest part of solo iPhone vlogging that nobody tells you: your first take is almost always fine. Maybe not perfect, but fine. Every experienced iPhone vlogger will tell you the same thing — over-reviewing kills momentum.
When I'm recording, I focus on three things only: reading slightly ahead of where I'm speaking, keeping my posture upright, and not rushing through the end of sentences. After the first take, I watch it back once and check two things: did I look natural, and did I stumble anywhere bad enough to reshoot? Most of the time the answer to both is "yes, good enough, moving on." I used to do eight or ten takes. Now I average two. The script is what made that possible.
According to a 2024 Wyzowl Video Marketing Report, creators who script their content before filming report spending 47% less time in post-production editing and reshooting. The upfront writing time pays back in full by the time you reach the edit.
Step 5: Edit for Pacing, Not for Perfection
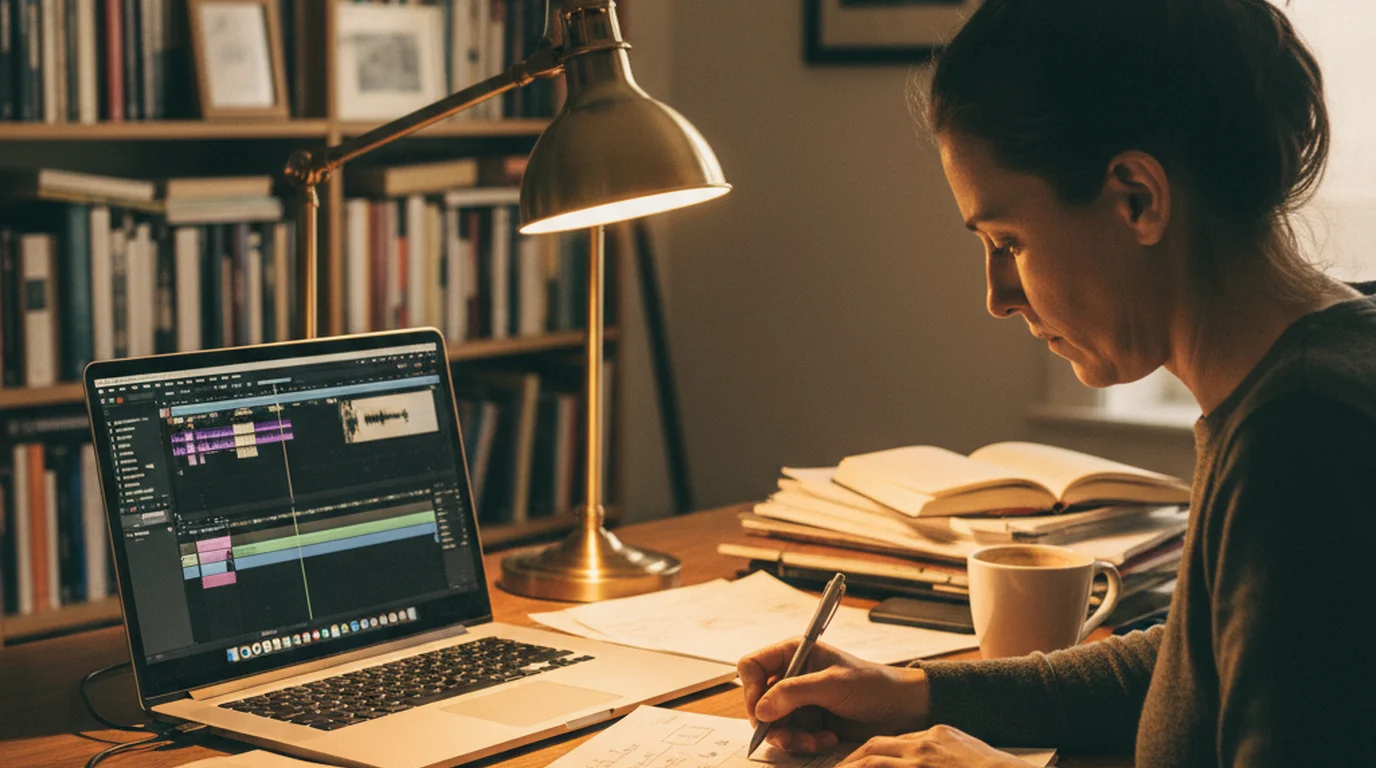
A scripted vlog is faster to edit because you don't have to hunt through thirty minutes of rambling footage for the usable bits. Your usable bits are already structured.
I cut four types of things: long pauses at the start and end of takes, filler words I missed during filming, any stumbled sentence where I restarted mid-thought, and anywhere the energy drops noticeably. Everything else stays. A slight "um" in the middle of a sentence? Leave it. It sounds human. A half-second pause before a big point? Leave it. It actually adds emphasis.
The goal isn't a flawless robot read. It's a natural, confident version of you — and that's exactly what scripted iPhone vlogging with a teleprompter makes possible. If you also record desk-based YouTube content, the teleprompter for Mac handles long-form recording at your desk without a separate device. Many vloggers also repurpose their footage as YouTube Shorts; if that's part of your workflow, check out YouTube Shorts best practices to format your vlog clips for maximum reach.
Vlogging Tips That Actually Make a Difference
Record horizontal for YouTube, vertical for Reels. Don't try to compromise with a square crop — both platforms reward native aspect ratios. If you're creating for multiple platforms on the same shoot, set up two takes: one horizontal, one vertical. It adds three minutes to your vlogging session. When you need a dedicated script display separate from your filming phone, a free iPad teleprompter mounted behind the camera gives you a larger reading area. If TikTok is part of your distribution mix, the guide to using a teleprompter for TikTok covers the vertical scripting workflow specifically.
Check your audio before anything else. Bad audio is more disruptive than bad video. iPhone's built-in mic is genuinely good in a quiet room. If you're anywhere with background noise, a $30 lavalier mic is a better upgrade than any camera accessory for a vlogger on a budget.
Talk to one person, not an audience. Imagine your best friend watching this vlog. What would you say to them? That mindset shift makes your delivery warmer and your pacing more natural — even when reading from a script.
Use Teleprompter-Scrolling Scripts in Prompter mode for review. Before you record, run your script in Prompter mode to do a dry read. You'll catch any sentences that don't flow out loud, and you'll have already said everything once before the camera turns on. If you're on a device that can't install apps, the online teleprompter works in any browser for script review and practice runs.
Frequently Asked Questions
Do I need a special rig to use a teleprompter while vlogging on iPhone?
No special hardware is required. Teleprompter-Scrolling Scripts runs entirely on your iPhone — just prop the phone on a tripod or stack of books at eye level. The Camera mode overlays your scrolling script directly on the live viewfinder, so you read and record on the same device without any mirror attachment or external monitor.
Will viewers be able to tell I'm reading from a teleprompter?
Only if your eyes dart to the edges of the screen. Because Teleprompter-Scrolling Scripts lets you position the text block close to the top of the frame — right near the front-facing lens — your gaze stays centred. Practise the script once before hitting record and keep your scroll speed comfortable so you're reading slightly ahead of your speech, not catching up to it.
What scroll speed should I use for iPhone vlogging?
Most creators land between 130 and 160 words per minute for a natural conversational pace. Start the auto-scroll at the lowest speed, read one paragraph aloud, and bump it up until it matches your natural talking rhythm. It usually takes two or three practice runs to dial in. Once you've found your speed, save it — Teleprompter-Scrolling Scripts remembers your last setting.
How long should a vlog be for YouTube or Instagram Reels?
For YouTube, 5–12 minutes consistently performs well for solo talking-head vlogs. On Instagram Reels the sweet spot is 60–90 seconds for discovery, or up to 3 minutes for followers who already know you. A scripted approach makes hitting these targets easy: write to a target word count (150 words ≈ 1 minute at a relaxed pace) and you'll land on time almost every take.
Can I use the same teleprompter script for short-form and long-form videos?
Yes — and this is one of the best reasons to script your vlogs. Write the full-length version first, then copy it and cut to the key points for a Reels or TikTok edit. The scripted structure means your short-form cut has a real hook and a real ending, not just a random chop of the longer video.
What iPhone setting produces the best vlog video quality?
For most iPhone vlog use cases: 1080p HD at 30fps in High Efficiency (HEVC) format. Set this in Settings → Camera → Record Video. This produces high-quality video at manageable file sizes. Use the rear camera (not front-facing) when possible for noticeably better optical quality — rear cameras have larger sensors, better optics, and superior low-light performance. In bright conditions, the front camera is acceptable for casual vlogging. For colour profile: leave iPhone on Standard (not Cinematic or Log) unless you're grading in post — Standard looks good directly from camera without any editing.
Complete guide: The Solo Content Creator's Complete Guide (2026) — scripting, delivery, camera setup, platform strategy, and the free tools every solo creator needs.
Maya ChenMaya Chen is a content creator who films on iPhone and coaches solo creators on mobile-first video production for TikTok, Reels, and Shorts. Her work focuses on the part most people skip: how to actually sound natural once the camera is rolling.
Start vlogging on iPhone with a free teleprompter
Teleprompter-Scrolling Scripts runs natively on iPhone, iPad, and Mac. Camera mode records with your script overlay. Scripts stay on-device — no account, no internet required.
Use Free Online Teleprompter Get the Free App